It’s no secret that I love food and I love to cook, so when one of Dane’s friends suggested doing a Come Dine With Me style evening with a group of us I thought it was a brilliant idea.
We were the first to host, and after toying with the idea of doing some sort of roast/Christmas dinner, we settled on a somewhat Spanish themed evening and decided to make lots of different tapas style dishes. 
We love tapas and Spanish food in general and took inspiration from my favourite restaurant in York, Ambiente Tapas. They also have a restaurant in Leeds so check them out if you live up north! Dane also has family friends who live in Gran Canaria and has spent a lot of time there, which is why he was in charge of the Spanish tortilla and the “wrinkly” potatoes on the menu. I think the potatoes were actually one of everybody’s favourite dishes throughout the evening, but more about the menu to come later in this post.
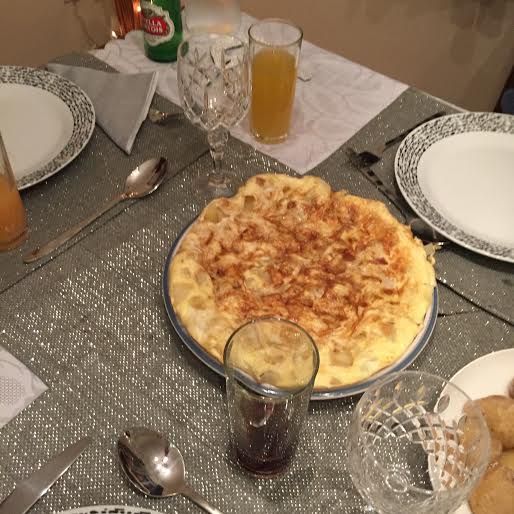
The Spanish tortilla
I’d been working until midnight the evening before so preparation began at 11am sharp the next morning and I’m not joking when I say we were in the kitchen all day!
Although there was no £1,000 cash prize at stake like in the real Channel 4 show, Dane and I still wanted to win, so it was all hands on deck to make sure we prepared some awesome tapas and equally brilliant entertainment.
Our guests weren’t arriving until about 7.30pm that evening so we used the day to prepare as much as we could. We made the desserts first before moving on to the dishes that could be served cold. We prepped the wrinkly potatoes along with a hot sauce to accompany them and fried some other potatoes ready to make the Spanish tortilla later.
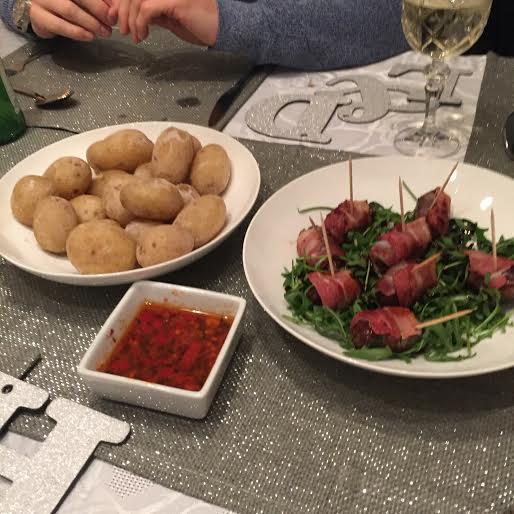
The ‘wrinkly’ potatoes with hot mojo sauce & the dates with bacon
Aside from the food we also prepared the entertainment. We decided to do some couples head to head challenges including a Mr and Mrs style quiz like the TV programme. We decorated paddles and wrote different sets of questions specific to each couple and decided we’d ask them to write some for us when they arrived. We also did Heads Up and the Malteser game. For the Malteser game you have about 8 Maltesers on a plate at one side of the room and using just a straw you have to get them into a glass at the other side of the room. The final game was who could build the tallest and most solid structure out of raw spaghetti and marshmallows in just five minutes – let me tell you, that five minutes goes quickly!
We made the remainder of the food just before the guests arrived and had a paella cooking while we tucked in to a little starter of olives, meats and breads.
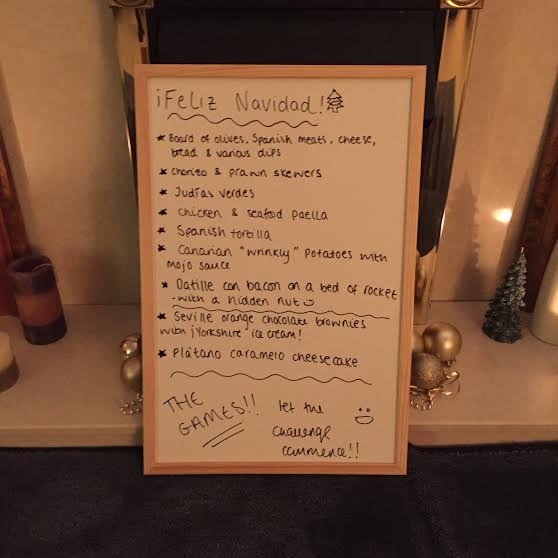
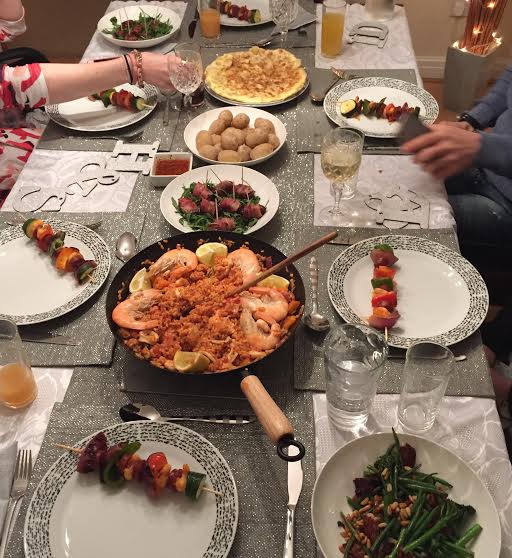
Our Spanish inspired menu

The paella
Here’s our menu in more detail:
– Board of olives, Spanish meats, cheese, bread and various dips
– Chorizo & prawn skewers which were made up of chorizo, prawns, red onion, pepper and courgette
– Judias Verdes which is essentially greens pan-fried in garlic butter, toasted pine nuts and sundried tomatoes. The greens we used were tenderstem broccoli and green beans.
– Chicken and seafood paella
– A classic Spanish tortilla
– Canarian “wrinkly” potatoes with hot mojo sauce
– Datille con bacon (dates with bacon!) on a bed of rocket. We removed the stone from the dates before stuffing them with a blanched almond, wrapping them in bacon and pan frying them. They are amazing!
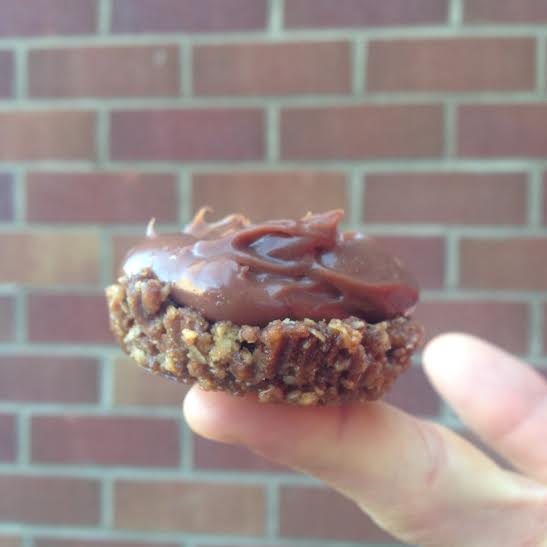
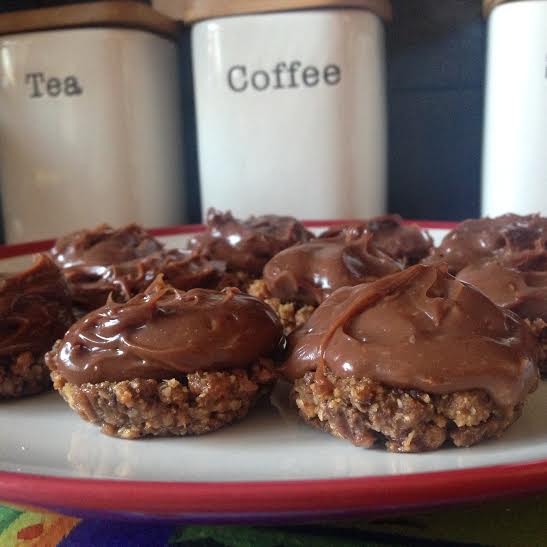
– Pudding was a chocolate orange brownie (the world’s best brownie!!) served with Yorkshire ice cream or a banoffee cheesecake.


The PUDDINGS!!!! 😀
We have been given marks but we won’t see them until the other two couples have hosted their dinner party. After each evening you record your thoughts/scores in a video on your phone and keep it until the end of the competition – looking forward to seeing those already!
All in all it was a fantastic evening and we had a lot of fun! I’ll admit, we did get somewhat stressed during the day but when you’re actually sat down and enjoying the food you forget about all of that. Cooking for other people is definitely something I want to do more of in 2016 so watch this space!
The next installment of Come Dine With Us will be held next month so I’ll post about their menu afterwards.
If you’d like the recipe for any of the dishes made just comment below or Tweet me @HannahBryan91 or on Instagram @HBryan91 and I’ll post them for you!
🙂